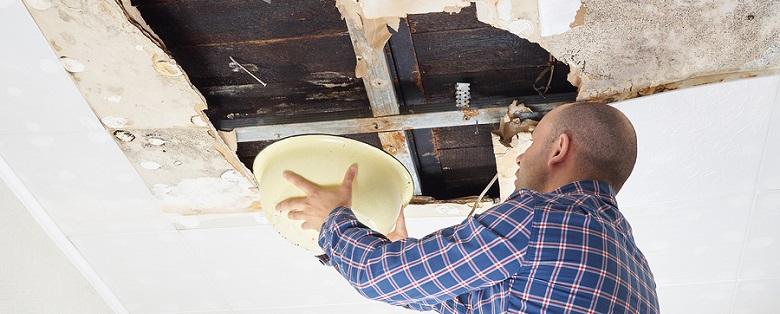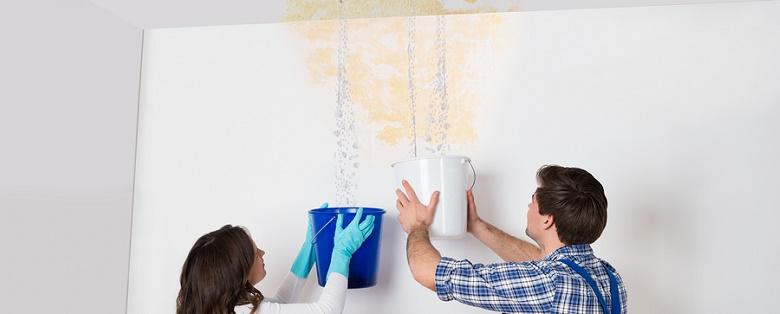
Homes that are flooded need special treatment in order to restore them to the condition they were in before the flood occurred. Without the proper water damage restoration techniques, homeowners may suffer from permanent damage to both their homes and belongings.
By using the following multiple stage process, licensed and experienced water damage restoration services can thoroughly remove all water from a home or building, reducing any long-term damages and saving as many items as possible.
Step 1 - Initial Inspection and Damage Assessment
Before any water removal or drying begins, water damage restoration services inspect flooded areas and assess the amount and type of damage. During this step, any safety or health hazards are identified and a course of action to restore the property is determined. Water source and a number of other details must also be considered in order to decide whether the job is a mostly sanitary cleanup or if precautions must be taken due to unsanitary sources of gray or black water.
Step 2 - Water Extraction
Once a plan for water damage restoration has been decided, the next step is to extract as much water as possible from the premises and remove any items that cannot be repaired. Standing water is suctioned up from floors, carpeting, and rugs using powerful extraction machines, after which carpets and rugs are removed.
Area rugs can possible be restored: wall-to-wall carpeting usually cannot. All furnishings, removable fixtures, and other damaged items are removed and the flooded area is set up for drying. Cabinetry, appliances, and even drywall may be removed if these components are saturated and will need to be replaced.
Step 3 - Drying and Dehumidifying
Next, the lengthy yet extremely important process of drying the damaged areas begins. This is done by using a combination of drying methods that include air blowers, heaters, floor drying machines, and heavy duty dehumidifiers. Efforts are made to increase air temperature and keep air circulating to increase evaporation before mold or mildew can start to grow. Drying can take anywhere from 2 to 4 days or more, depending on the size of the area being treated.
Step 4 - Secondary Inspection and Assessment
After thorough drying and dehumidifying have been completed, water damage restoration services perform a second inspection and damage assessment looking for any areas that have not dried sufficiently and may need additional drying time. Humidity testing is also done to ensure that levels are low enough to prevent future mold and mildew formation. Once everything is deemed dry enough and the humidity level is stable, any necessary reconstruction can begin.
Step 5 - Restorative Reconstruction
The last step in the water damage restoration process is restorative construction. Anything that was removed during the extraction step or was found to be damaged beyond repair even after drying is reconstructed as needed. This may include replacing drywall and flooring along with cabinets, baseboards, and any other fixtures, components, or appliances that were removed. Once this final step has been completed, the home or building should be restored to the condition it was in before the damage occurred.
Although these steps may seem simple, they require careful attention and the use of specialized machines to ensure that water damage restoration is properly performed. If done incorrectly, complete restoration may not be possible. There is also a significant risk of health concerns due to poor moisture removal. The best thing a homeowner can do is to work with licensed water damage restoration services with extensive experience in obtaining the best results!
